Spend $675 to unlock your gift!
$0
$90
Free Shipping
$675
Baking Sheet Duo
($120 Value)
Your Cart is Empty
Get started with the Caraway essentials!
Free Shipping On Orders $90+
Free Returns
30-Day Trial
Home & Kitchen with Caraway
Key Takeaways:
No-knead Dutch oven bread needs just four pantry ingredients and about five minutes of hands-on time.
The covered pot traps steam as the dough bakes, which is the secret to that crackly, golden bakery-style crust.
A quality Dutch oven does all the hard work, giving you a beautiful artisan loaf with almost no effort.
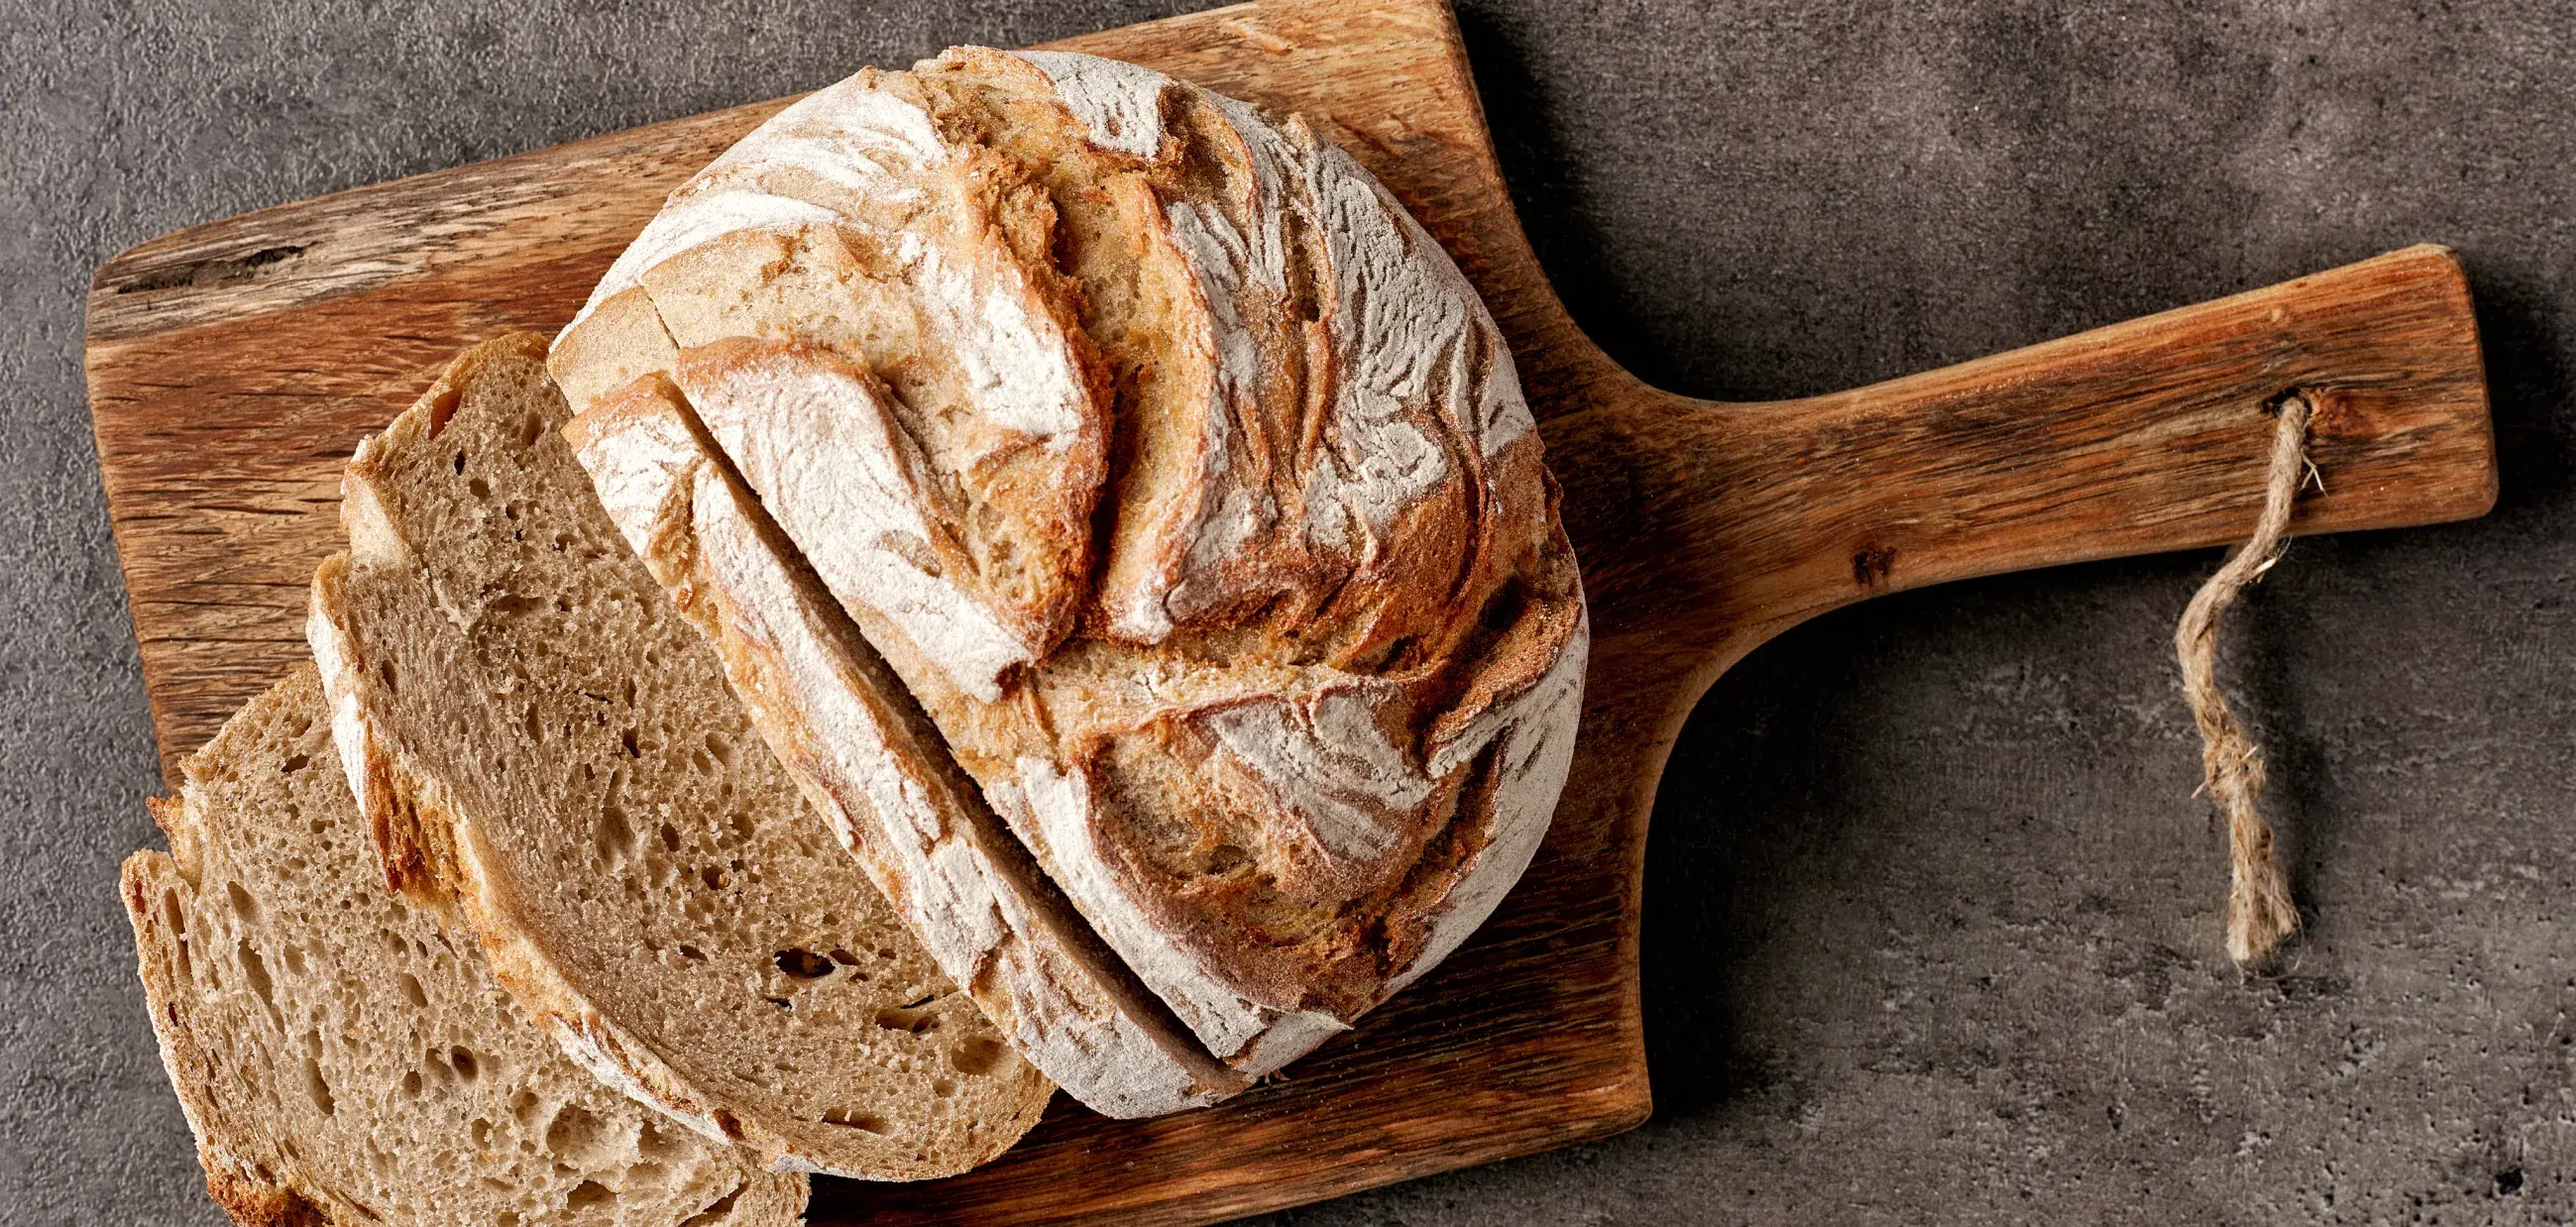
There's something a little magical about pulling a golden, crackly loaf of bread out of your own oven. It feels like it should be hard, but no-knead Dutch oven bread flips that idea on its head. With four simple ingredients and almost no effort, you can bake a loaf that looks and tastes like it came straight from an artisan bakery.
At Caraway , we love a recipe that lets the right tool do the heavy lifting, and this is one of the best examples out there. Let's walk through just how easy homemade bread can be.
Traditional bread recipes rely on kneading to develop gluten, the network that gives bread its structure and chew. No-knead bread skips all that by letting the dough rest for a long stretch instead. Over those hours, the gluten develops on its own, no elbow grease required.
The second secret is the Dutch oven itself. When you bake bread in a covered pot, the steam created inside transforms the dough into a crackly, golden loaf with a beautifully open, chewy interior. That trapped steam is what gives artisan bread its signature crust, and it's nearly impossible to replicate on an open baking sheet.
The beauty of this recipe is its simplicity. Just four ingredients and a few basic tools:
3 cups all-purpose or bread flour
1 ½ teaspoons salt
½ teaspoon active dry yeast
1 ½ cups warm water
A large mixing bowl
A Dutch oven with a lid
That's it. No special equipment, no fancy ingredients, no bread machine. Want to bump up the nutrition? You can swap up to half the flour for whole wheat , which keeps the fiber-rich bran and germ intact for a heartier loaf.
Here's how to go from a bag of flour to a bakery-worthy loaf. The active time is minimal, but you'll want to plan ahead for the resting period.
In a large bowl, stir together the flour, salt, and yeast.
Add the warm water and mix until a shaggy, sticky dough forms. It won't look pretty, and that's exactly right.
Cover the bowl and let it rest at room temperature for 8 to 12 hours, or until the surface is dotted with bubbles.
Turn the dough out onto a floured surface and gently shape it into a rough ball. Don't overwork it.
Let the dough rest while you preheat.
Place your Dutch oven with the lid on in the oven and heat to 450°F. Let it preheat for about 30 minutes.
Carefully remove the hot pot and place the dough inside, seam-side up. A piece of parchment makes this easier and protects your hands.
Cover and bake for 30 minutes.
Remove the lid and bake for another 10 to 15 minutes, until the crust is deep golden brown.
Turn the loaf out onto a rack and let it cool completely before slicing.
That last step takes willpower, but slicing too early makes the inside gummy. Give it time to set.
This recipe lives and dies by your Dutch oven, since it needs to trap steam and handle high heat without a problem. Our Enameled Cast Iron Dutch Oven is made for exactly this.
It holds heat beautifully, the heavy lid seals in steam for that perfect crust, and the enamel coating means there's no seasoning to fuss over. It goes from a crusty loaf on Sunday to a simmering stew on Monday without missing a beat.
And when you're not baking bread, it's the kind of pot you'll reach for again and again, from braises to soups to slow-cooked dinners.
The covered pot traps steam as the bread bakes, which creates that crackly, crisp crust you can't get on an open pan. It essentially mimics a professional steam-injected bakery oven, giving you a bakery-style loaf at home with no special equipment.
Many Dutch ovens can bake bread, but always check the manufacturer's temperature rating and guidance on preheating empty first. Enameled cast iron is a particularly great choice because it handles high heat and holds steam exceptionally well.
The most common culprits are old yeast, not enough resting time, or overworking the dough during shaping. Make sure your dough rests until bubbly, handle it gently, and check that your yeast is still active for the best rise.
Sources:
Brief History of Where the Dutch Oven Got its Name | Montana U
Whole Grains | Harvard T.H. Chan School of Public Health, The Nutrition Source
Spend $675 to unlock your gift!
$90
Free Shipping
$675
Baking Sheet Duo
($120 Value)
Get started with the Caraway essentials!
Free Shipping On Orders $90+
Free Returns
30-Day Trial
Spend $675+ to unlock your free gift!
Exclusive Baking Sheet Duo for orders $675+
$90
Free Shipping
$675
Baking Sheet Duo
($120 Value)
Spend $675+ to unlock your free gift!
Exclusive Baking Sheet Duo for orders $675+
$90
Free Shipping
$675
Baking Sheet Duo
($120 Value)
